 |
| Crisco in the coldest part of your fridge... |
 |
| This specific flour (I vouch for no other's performance... just saying...) also in fridge (or freezer) |
 |
| Some ice water. Everything needs to be cold! |
 |
| For a double-crust pie, 2 1/2 c. all-purpose flour... |
 |
| + 1 teaspoon of salt, stir together... |
 |
| Add in 2/3 c. of Crisco, carefully measured as you can see ;o) |
 |
| Use a pastry blender like this or the two humble forks to the side to mix it up until it looks like... |
 |
| this! Crumblies. |
 |
| Dig a hole in the middle, toss in 10 Tbsp. of that ice water (drink the rest). |
 |
| Stir casually with aforementioned humble fork. |
 |
| Here's where we get to my own strange method. A big piece of plastic wrap. |
 |
| Dump entire contents of bowl, even the inevitable dry flour in the bottom onto plastic and pull the wrap up around it. |
 |
| Mash it (or press it) 5-6 times (THROUGH THE WRAP); this prevents extra body heat from getting into the crust and allows for clean hands. |
 |
| Wrap up... |
 |
| Put in fridge for at least 30 minutes. Not 16 hours, people. Just a little while. You can also freeze it at this point, if you're amazingly organized and making this for later. Or you can throw it the freezer for 10 minutes if you're disorganized and you're rushing the clock (not that I have ever done, mind...) |
 |
| Wash hands with yummy soap in your incredibly messy sink, since mess is inevitable and your |
 |
| Use a knife to divide your little dough ball. See how I'm off center here, that's b/c the bottom crust has to reach the sides so needs a little extra dough. About 60/40. At this point I like to fold it over gently 3 times or so (maybe it gives it flaky layers, maybe not, just a theory). Pat back into a disk and roll out... |
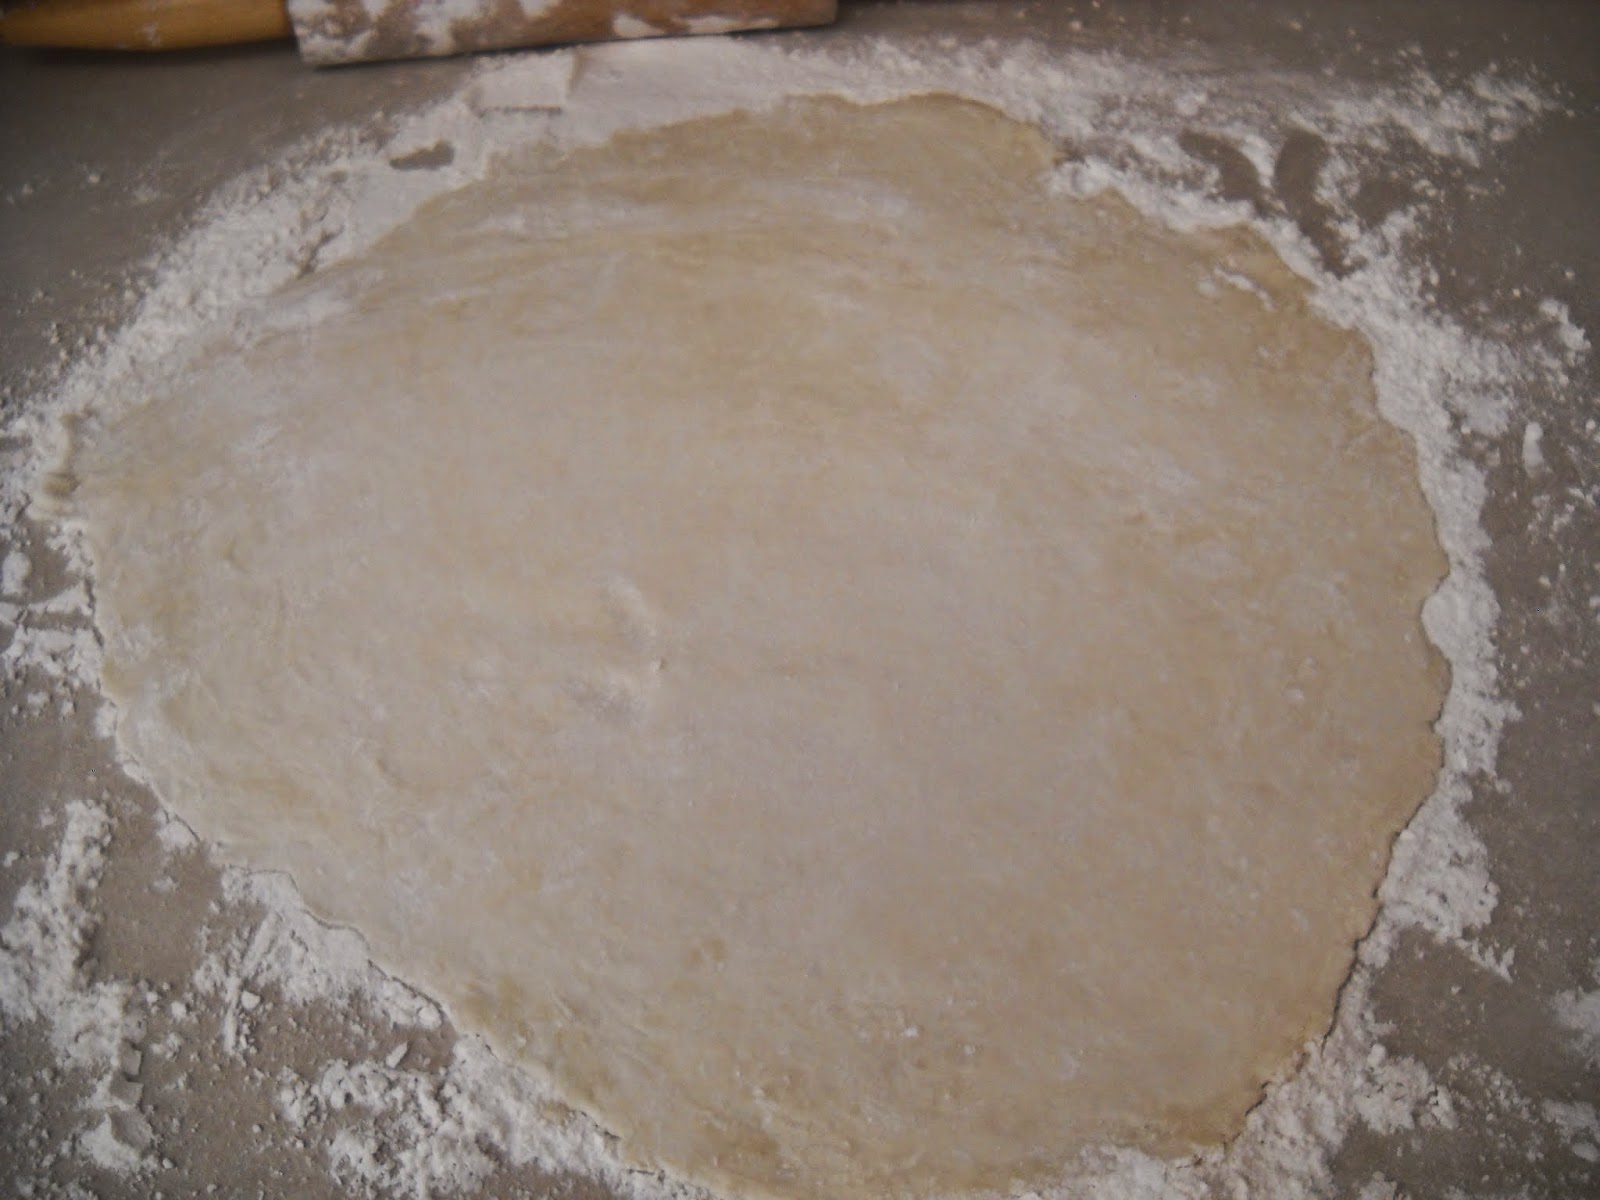 |
| Roll out on floured surface with floured rolling pin, generously flouring your clothes as you go. |
 |
| You can lay your pie plate or skillet in the middle to estimate needed size. |
 |
| Use that lovely bench scraper or a basic pancake flipper and wiggle it loose on one side and fold in. |
 |
| And the opposite side... |
 |
| And now the right... |
 |
| And the left... put up your bundle and put it... |
 |
| in your pan / pie plate. (Cast iron does amazingly well at EVERYTHING, including pies...) |
 |
| Here is an example of why I say I make good food, not pretty food (See Marianne Brown for pretty AND good... yes, Betty Crocker is my sister-in-law and I love her) :o) |
 |
| Patch the hole or holes or whatever flaws you've got going on. Prick the bottom of crust 8 times or so with a fork, fill with loveliness, top with remaining crust rolled out the same way, brush the top with an egg yolk you've mixed with a Tbsp of water, and bake. I always put a cookie sheet under my pan, because loveliness is no longer lovely when it drips down and burns in the bottom of your stove. |
 |
| The scraps from the ugly pie crust are mine. A little turbinado, a little cinnamon and a little real butter is the consolation prize for my success in not eating the pie that's coming out of the oven. No white sugar for me these days. And if Evie's Christmas music is playing, I can take a bite and close my eyes and suddenly my mom is giving me the end pieces of her Christmas morning cinnamon roll dough roll... roll.. that sounds funny. Enjoy your pie crust making. Cheap and scrumptious. Recipe compliments of Taste of Home years and years ago, method compliments of my beleaguered Home Ec. teacher + my own adaptations... |
1 comment:
I can recommend the pie crust, it was great on the apple pies this Thanksgiving, as were those of Marianne's pumpkin pies. Aren't I lucky to have these talented Daughters-in-law!
Nadine Brown
Post a Comment